Account, Billing & Team
Add an employee
Create employee access with contact details and a role-based organization permission level.
Add employee fields
Adding an employee creates user directory access for the email inside the organization. The employee record should match the person who will use the panel.
You can manage employees from Organization / Employees or Settings / Employees. Both paths open the same employee management experience.
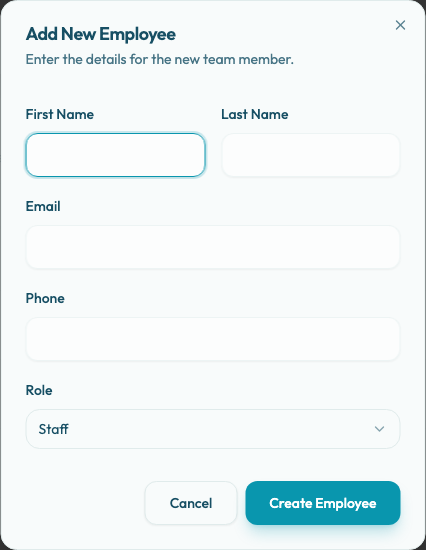
Select Add Employee to open Add New Employee. The dialog says: "Enter the details for the new team member."
Create the record
- Open Organization / Employees or Settings / Employees.
- Select Add Employee.
- Enter First Name, Last Name, and Email.
- Add Phone only if you have a valid phone number.
- Keep the default Staff role or choose Manager or Admin.
- Select Create Employee.
The role menu also shows Owner, but owner employees cannot be created from this dialog. Use Staff, Manager, or Admin when adding a new employee.
Validation and messages
The email is required, must use a valid format, and cannot match an existing employee. If the email is already used, the form shows Employee already exists.
If a phone number is entered, it must be valid for the organization context. Leaving Phone blank is allowed.
On success, Reslify shows Employee created with New employee has been added. If saving fails, Reslify shows Failed to save employee and includes the error message when one is available.
What to verify
After creating the employee, check that the row appears in the employee list with the correct email and role. If the email is wrong, edit the employee before the person attempts to sign in.
If the person should not have broad access, start with a lower role and increase it later if needed.