Booking Pages & Channels
Set up a branded booking page
Set up the Reslify public booking page, portal access, branding, and guest-facing checks before sharing it with guests.
What the booking page setup includes
The branded booking page is the standalone guest-facing page for online reservations. It can also act as the source experience for embedded widgets on the restaurant website.
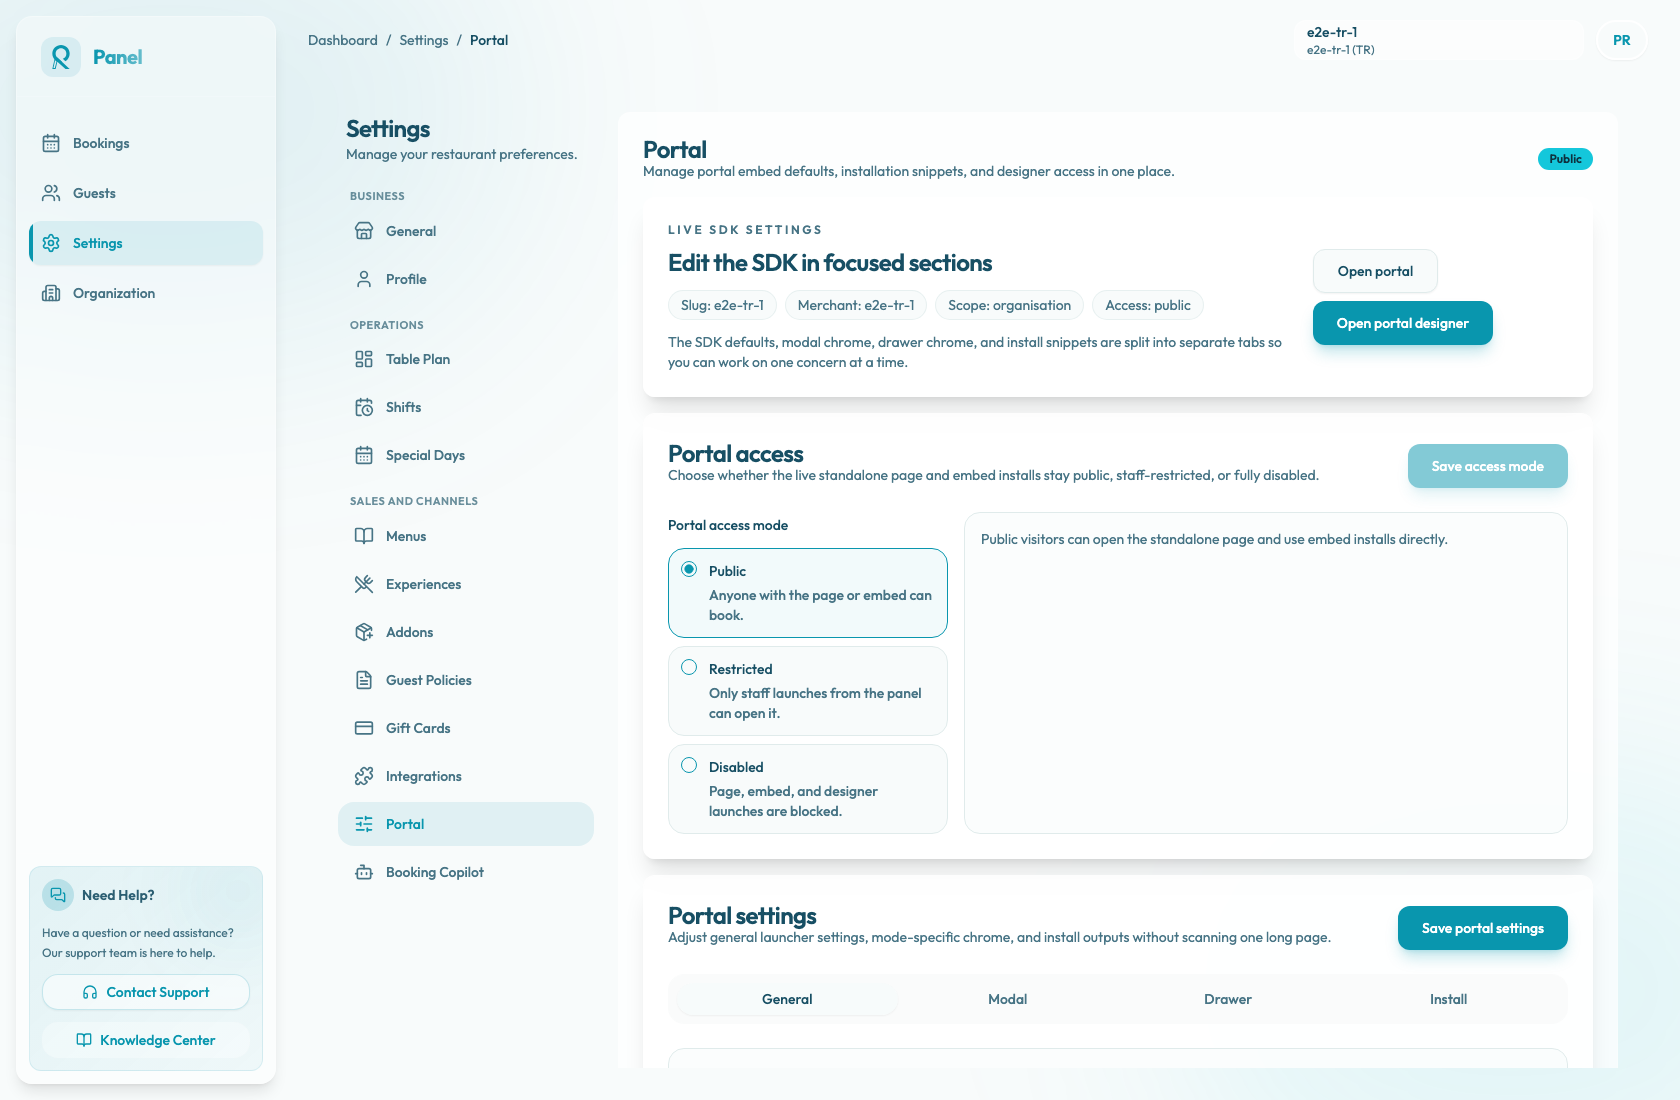
Set it up from Settings / Website. This page groups the controls that affect public access, guest page links, widget behavior, install snippets, and the portal designer. Treat it as the launch control for the page guests will open and the widget website visitors will use.
Before you start
The booking page reflects the restaurant configuration that already exists in the panel. Confirm these foundations before treating the page as ready:
- restaurant name, logo, address, timezone, and language settings
- at least one active experience that guests can book
- weekly shifts or special day availability
- table plan capacity that can seat the guest party sizes you want to accept
- guest policies, add-ons, and payment requirements if they apply
- website production,
www, staging, or preview origins if the widget will be embedded - portal access that allows the intended audience to open the page
If those settings are incomplete, the page may load correctly but still show no useful booking path.
Online booking access can be changed only by owners and admins. Staff users can use the page for review, but the Online booking access mode controls are read-only for them.
Open Website settings
- Open Settings from the left sidebar.
- Select Portal under Sales and Channels.
- Confirm the restaurant shown in the top bar is the restaurant you want to configure.
- Review the Live SDK settings card at the top of the page.
The badges in this area show Slug, Merchant, Scope, and Access. Use them as a quick check before copying URLs or changing public access, especially if you manage more than one restaurant.
Set the access mode
In Online booking access, choose how available the guest experience should be:
- Public lets anyone with the page or embed book. The Install links and copy buttons are ready for public use.
- Restricted requires staff-only launches from the panel for the standalone page and embed preview. Public visitors see not found, and public install actions stay disabled.
- Disabled blocks page, embed, and designer launches. Open website, Edit website, and public install actions are disabled.
Select the mode, then choose Save access mode. If you plan to share the page with guests or install the widget on a live website, the access mode must be Public.
When you move a live page away from Public, the panel asks you to confirm with Restrict public portal access?. Continuing means existing public links and website embeds stop working for guests after the change is saved.
Configure the guest experience
Use the Website settings tabs to adjust how the standalone page and SDK installs behave:
- General controls Button text, Button shape, Default mode, Z-index, Allowed origins, and Inline min height.
- Modal controls the SDK-owned modal shell and Modal width.
- Drawer controls Drawer side, Launcher placement, Offset, and Drawer width.
- Install provides the Booking page URL, Raw embed URL, Widget script URL, copy buttons, and Open embed preview.
Choose Save portal settings after changing launcher behavior, allowed origins, modal settings, drawer settings, or inline sizing. The generated snippets in Install reflect the saved settings.
For visual presentation, use Edit website. The designer is where you tune Brand, Widget, and Page with a live preview. Designer changes do not affect guests until you use Save live in the designer.
Verify the page before sharing
Use Open website to preview the public booking page. Check the full guest path, not just the first screen:
- Select a realistic Guests value.
- Confirm the Date range and Available Times appear as expected.
- Choose an Experience if the restaurant has more than one.
- Review Add-ons, cancellation policy text, legal consent, deposits, prepayment, or card guarantee prompts if present.
- Continue far enough to confirm Guest Details is reachable.
- For paid or guaranteed experiences, confirm the flow can reach Continue to payment or Continue to card guarantee.
Test at least one weekday, one weekend, and any special day that should behave differently. For a final launch check, open the Booking page URL in an incognito window while Online booking access is Public.