Experiences & Add-ons
Configure experience basics
Edit the basic guest-facing details for an experience, including required name, display price, description, image, and add-on group visibility.
What Basics controls
The Basics tab contains the guest-facing identity and selection helpers for an experience: required name, optional display price, description, image, and add-on group visibility.
Open it from Settings / Experiences, then edit an existing experience or create a new one.
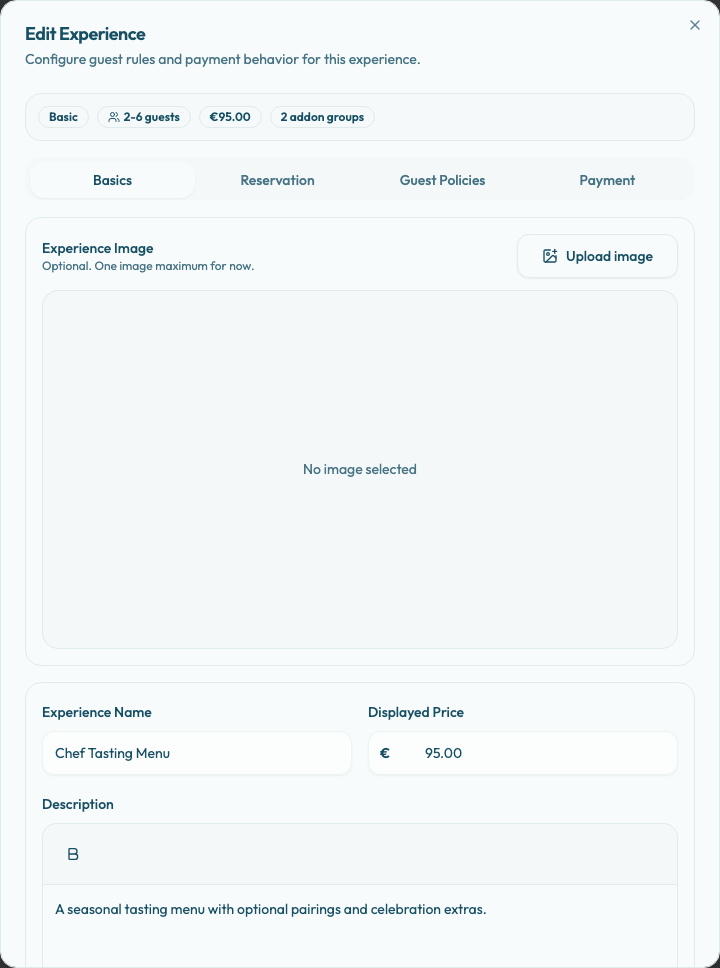
Set the guest-facing identity
Use Experience Name for the short label guests choose. It is required, appears in the public booking flow, and should be clear without staff context. Avoid internal names like "EXP-01" or "Default".
Use Description to explain what the guest is reserving. Include the service format, what is included, and any important expectations. The public booking flow renders this as rich text on experience cards and grouped availability views.
Keep operational details out of the description if they are better handled by guest policies, payment rules, or staff notes. The description should help guests choose the right experience, not replace the reservation policy.
Set the displayed price
Use Displayed Price for a public price hint. Leave it blank if there is no reliable price to show; the panel summary then shows No display price.
Enter money with two decimals, such as 95.00. Reslify stores the value as cents, and a blank field is saved as no display price.
This field does not configure deposits, card guarantees, or prepayment. Those are configured separately in the Payment tab. For experiences with the Basic payment policy, gift-card reservation quotes can use the displayed price as the per-guest experience value and add selected add-ons, so keep the amount realistic.
Add an image
An image is optional, but useful for premium or event-like experiences. The dialog supports one experience image. Upload PNG, JPEG, or WEBP files up to 10 MB.
Use a clear image that represents the experience itself. Avoid tiny logos, text-heavy graphics, or images that do not match the actual service. The uploader can crop the image and shows card and thumbnail previews.
After uploading or replacing an image, wait for processing to finish, then save the experience. The image is ready to attach only when the experience is saved. Preview the public booking page afterward; the booking flow can still show the experience without a photo, but a good image makes the choice clearer.
Review add-on visibility
The Available Addon Groups section decides which add-on groups guests can select while booking this experience. The default is none selected. Leave every group unselected if the experience should not show add-ons.
Guests only see and choose add-ons from the groups enabled here. Add-on groups are created separately in Settings / Addons, then attached per experience from this tab.
Archived groups are labeled (Archived). If an archived group is already attached, it can remain selected so you can remove it deliberately. Archived groups that are not already selected cannot be newly enabled from this list.