Payments & Revenue Protection
Manage gift-card product images
Upload, replace, remove, and review gift-card product images so public gift-card checkout stays clear and trustworthy.
Why images matter
Gift cards are often bought as gifts, so the product image has a direct effect on trust and conversion. A clear image helps guests understand the restaurant, the experience, and the quality of the gift they are sending.
Manage images in the panel from Settings > Gift Cards. The Product Image field is optional, but when a product has an image it is shown on the public gift-card checkout page, in the buyer's gift preview, and as a small thumbnail in the Products list.
Before you upload
Gift-card product edits are available only when the Gift Cards page is Ready. If the page shows Selling disabled, existing products and issued cards remain visible, but product edits and public checkout are blocked until a supported payment integration is ready for gift-card selling.
Prepare a PNG, JPEG, or WEBP file up to 10 MB. Horizontal or square images work best because the panel and portal display them in wide product cards and gift-preview areas.
Upload or replace an image
- Open Settings > Gift Cards.
- In Products, select Add Gift Card or Edit on an existing product.
- In Product Image, select Upload image or Replace image.
- Choose a PNG, JPEG, or WEBP file.
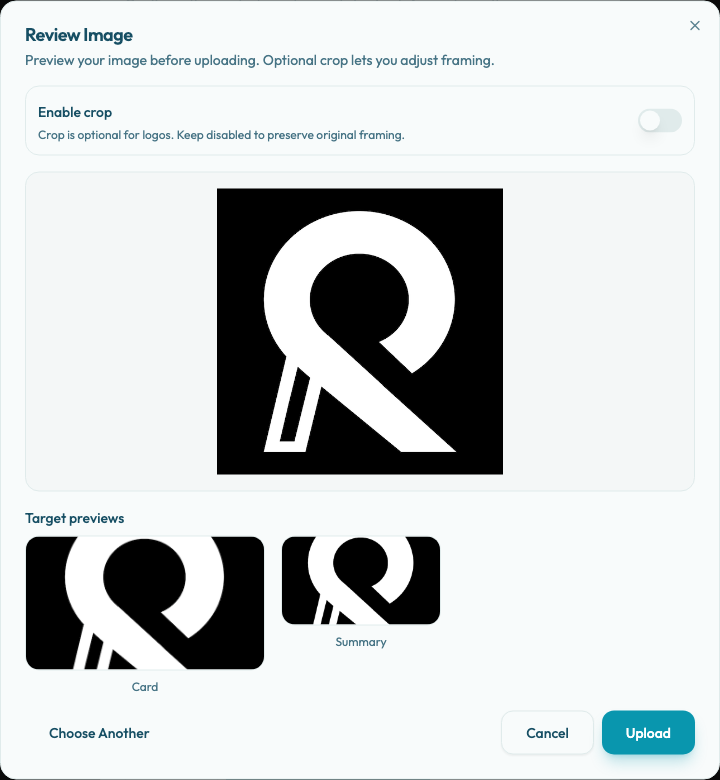
- In Review Image, leave Enable crop off to preserve the original framing, or turn it on and use Zoom to adjust the crop.
- Check the Card and Summary target previews, then select Upload.
- Wait for Gift-card image updated. The image is ready to attach only after the upload and processing step finishes.
- Select Create Gift Card Product or Save Changes to save the product with the new image.
Use images that are sharp, well-lit, and representative of the restaurant. Food, dining room, chef counter, or branded gift-card imagery can work well.
Remove an image
- Open Settings > Gift Cards.
- In Products, select Edit on the product.
- In Product Image, select Remove.
- Select Save Changes.
Removing the image clears it from that gift-card product. It does not archive the product, change issued cards, or delete the previously uploaded image asset.
Image quality guidelines
Use a horizontal or square image that still looks good when cropped in cards. Avoid text-heavy graphics, low-resolution photos, and images that promise something the product does not include.
If the product is a specific experience, use an image that matches that experience. If it is a flexible value card, use a broader restaurant image.
Validation and errors
The panel rejects unsupported file types and files over 10 MB before upload. If the image processing step does not finish, the product keeps its previous image until you upload a processed image and save the product.
The product form cannot be saved while an image upload is still running. It also needs a title, a positive amount, and a positive Validity (days) value before the image change can be saved.
If saving fails with an invalid gift-card image message, upload the image from this gift-card product dialog again. Gift-card products can only attach processed gift-card product images uploaded for the same merchant.
Review after upload
After changing an image, check the public gift-card page on desktop and mobile. Make sure the image loads, is not awkwardly cropped in the product card or gift preview, and still leaves the product title readable.
Only active products appear in public checkout. If you update an archived product's image, guests will not see that image until the product is restored.