Start Here
Prepare a restaurant before taking bookings
Set up the core restaurant configuration that must be in place before guests can book online or the team can manage reservations confidently.
Confirm the restaurant and launch goal
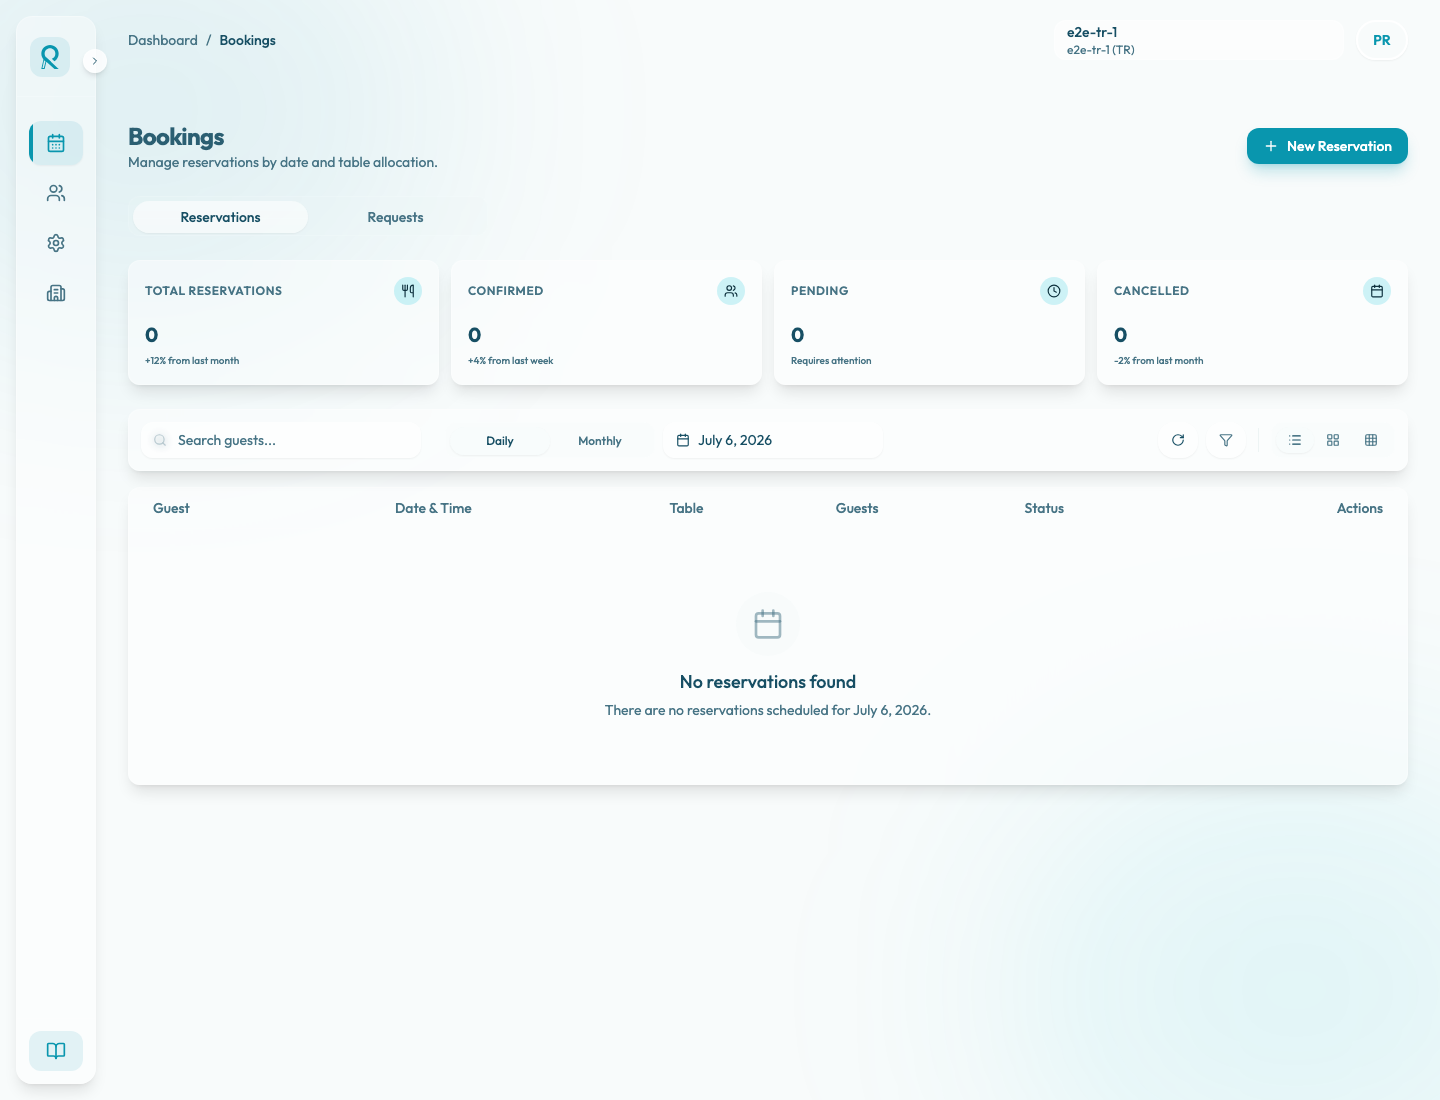
Before changing setup, confirm the active restaurant in the top bar. Settings changes apply to the selected restaurant, so this check matters when your organization manages more than one location.
Use the panel as the source of truth. The public booking page, embeds, integrations, and Booking Copilot all depend on the configuration stored for the selected restaurant.
Also decide whether you are preparing for staff preview or public launch. Keep Portal access restricted while the team is checking the flow, then switch it to public only when the booking path is ready for guests.
Complete business settings first
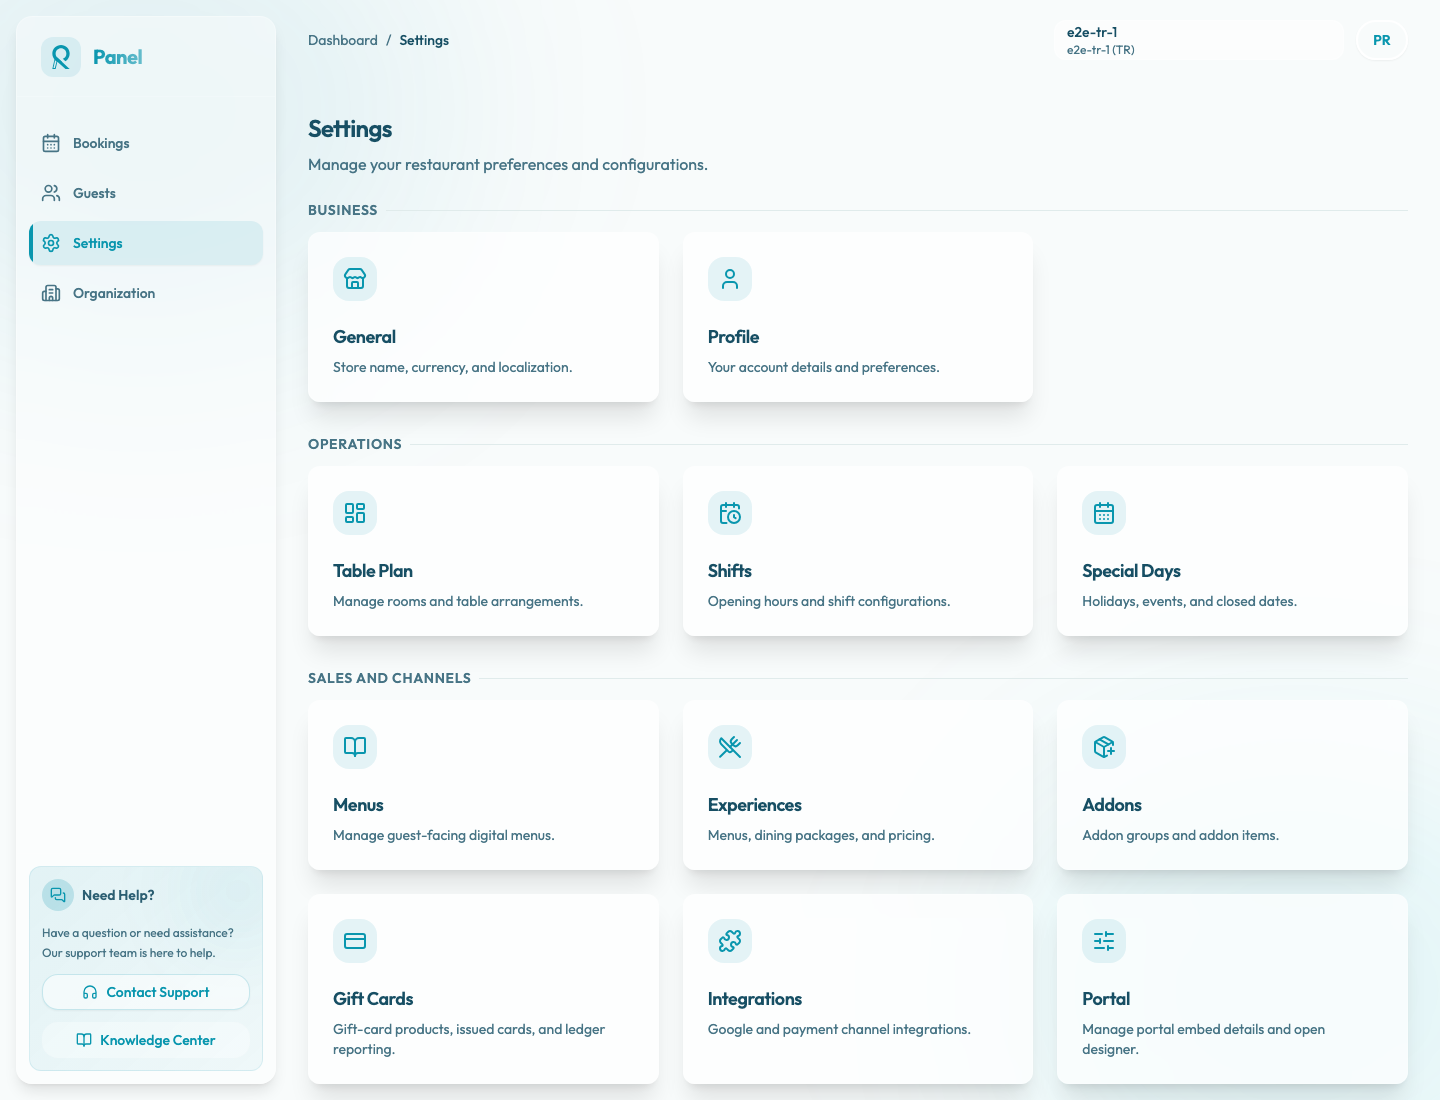
Open Settings / General before working on availability. Confirm Display Language, Date Format, Time Format, Booking Interval, Email Notifications, notification Email, and CC recipients.
Then open Settings / Profile and check the public contact email, website, logo, and social or web links. Some identity and address fields may be read-only; contact support if verified restaurant details are wrong.
These settings affect how dates, times, messages, public links, and reservation notifications appear to guests and staff. A wrong localization setting or missing notification email can make the rest of setup look broken even when availability is correct.
Build bookable availability
Availability depends on several settings working together. Build it from the physical floor plan upward:
- In Settings / Table Plan, create areas, tables, realistic min and max capacity, and table combinations for larger parties.
- In Settings / Experiences, create at least one active bookable experience and confirm duration, Min Guests, Max Guests, notice windows, Booking Gap, and whether reservations are automatically approved.
- In Settings / Shifts, create weekly service windows with repeat days, start and end times, Capacity Control, and table availability for each experience.
- Use Manage Tables inside each shift experience row to assign the tables that can be booked for that experience.
- In Settings / Special Days, add closures, holidays, events, or one-off service calendars. A special shift calendar needs its own table availability and capacity rules.
Do not publish the booking page until at least one active experience has tables available during at least one active weekly or special-day shift. If a shift shows a not-bookable warning, guests cannot book it until table availability is assigned.
Prepare guest-facing choices
Use Experiences to define what guests can reserve. Check the name, duration, display price, party-size rules, booking mode, linked addons, guest policies, and payment policy.
If the restaurant uses menus, addons, guest policies, gift cards, deposits, prepayments, optional prepay, or card guarantees, configure those before publishing the guest flow. Guests should not discover unfinished policies, missing payment setup, or the wrong cancellation terms during checkout.
For paid or guaranteed experiences, confirm the payment provider in Settings / Integrations is ready before testing a live guest flow. Otherwise the experience may be visible but fail when the guest reaches payment or card collection.
Prepare the booking channels
Open Settings / Website and check Online booking access. Use Restricted for staff-only preview, Public when the standalone page and embed installs should work for guests, and Disabled only when public visitors should see not found. The same access mode also applies to the booking widget.
In Portal settings, check the General tab for the default embed mode, launcher behavior, and Allowed origins. If the restaurant embeds Reslify on its own website, list every production, www, staging, or preview origin where the widget should run.
Use the Install tab to copy the Booking page URL or embed scripts, and use Open portal or the portal designer to preview the public presentation. If Reserve with Google will be used, confirm the Google setup from Settings / Integrations before expecting Google traffic.
Test before launch
Create a test reservation from the panel first. In Bookings, start New Reservation, choose a normal party size, date, time, experience, guest, and table assignment. Confirm that the team can find the booking, open details, see guest information, understand the status, and identify the assigned table.
Then test the guest-facing flow in a browser session that is not signed into the panel. Choose party size, date, time, experience, addons if relevant, guest details, and any required policy, payment, deposit, prepayment, or card-guarantee step.
After the guest test, return to Bookings and confirm the reservation or request appears with the expected status, guest contact details, table assignment, and payment or guarantee information.